Pearlicia-Blog
Create a Subdomain in Route53 and Attach it to Elastic Beanstalk Environment
This tutorial guides you through the process of creating a subdomain using Amazon Route 53 and seamlessly integrating it with an Elastic Beanstalk environment. Learn how to establish a distinct subdomain, enabling you to organize and host various applications efficiently.
Step One: Create hosted zone for subdomain
- Log in to AWS Console
- Search for Route53 on AWS Services
- Click on
Hosted zoneson the route53 dashboard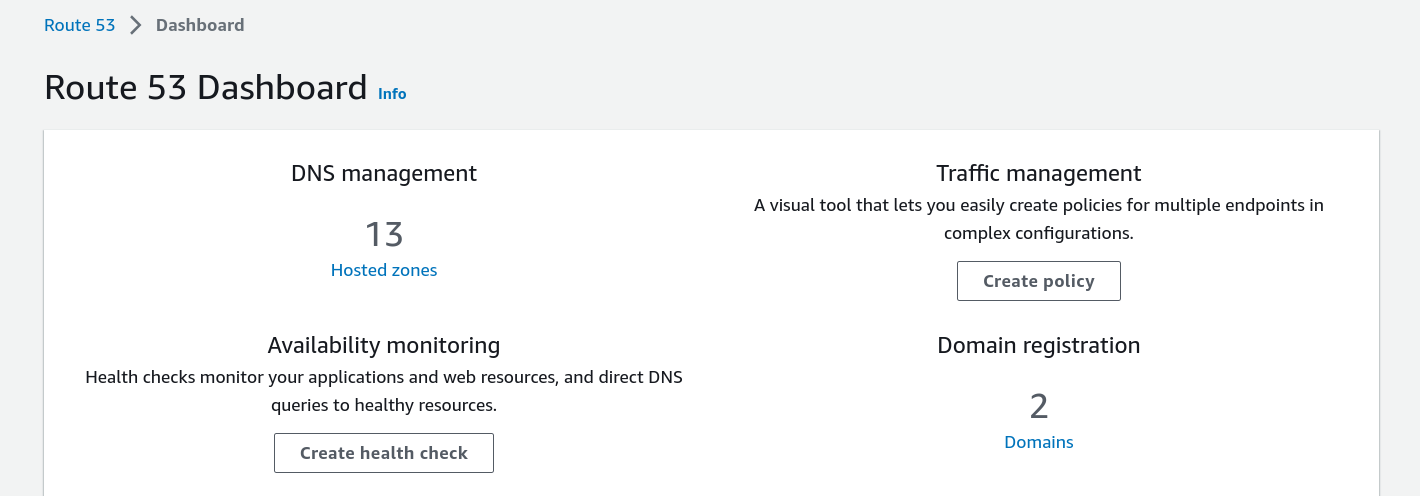
-
Click on
Create hosted zonebutton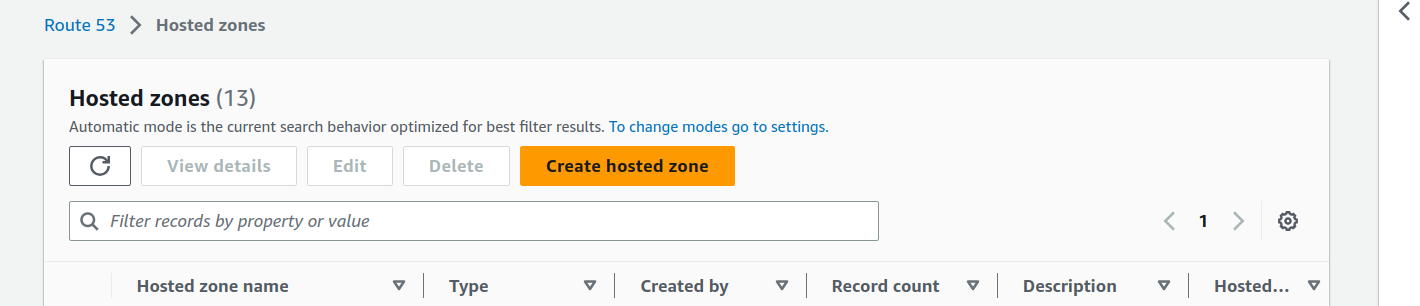
- Fill the form
- On
Domain namefield enter the full url to your subdomain - On
Descriptionfield Write a description of your choice - On
Typeselect Public hosted zone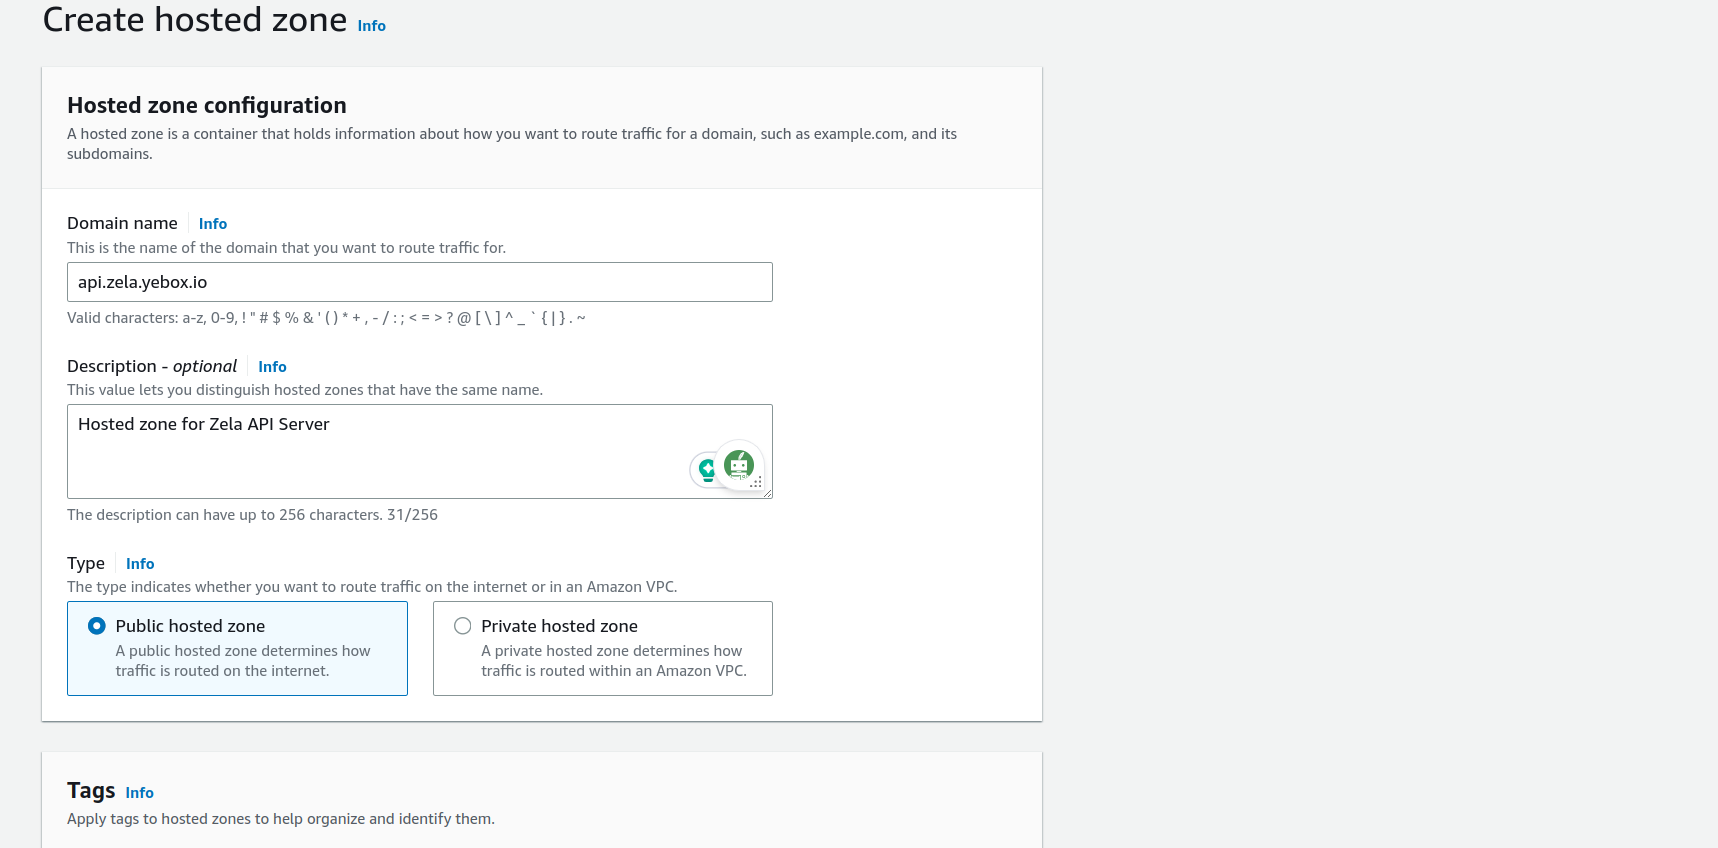
- Add tag if you want to
Then click on
Create hosted zoneorange button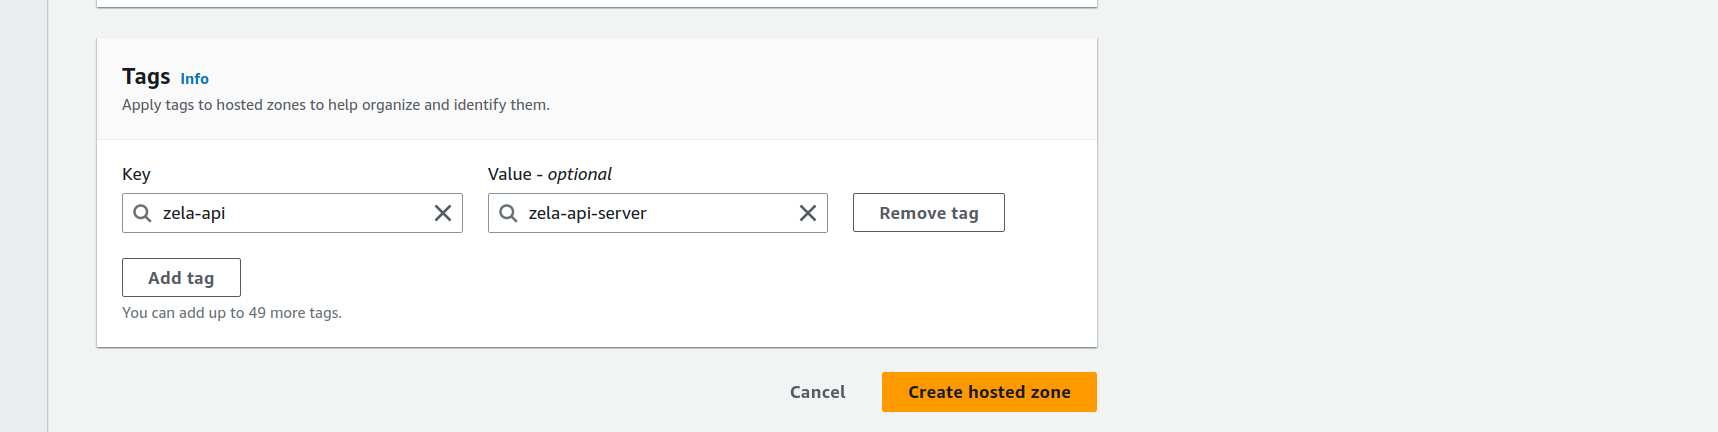
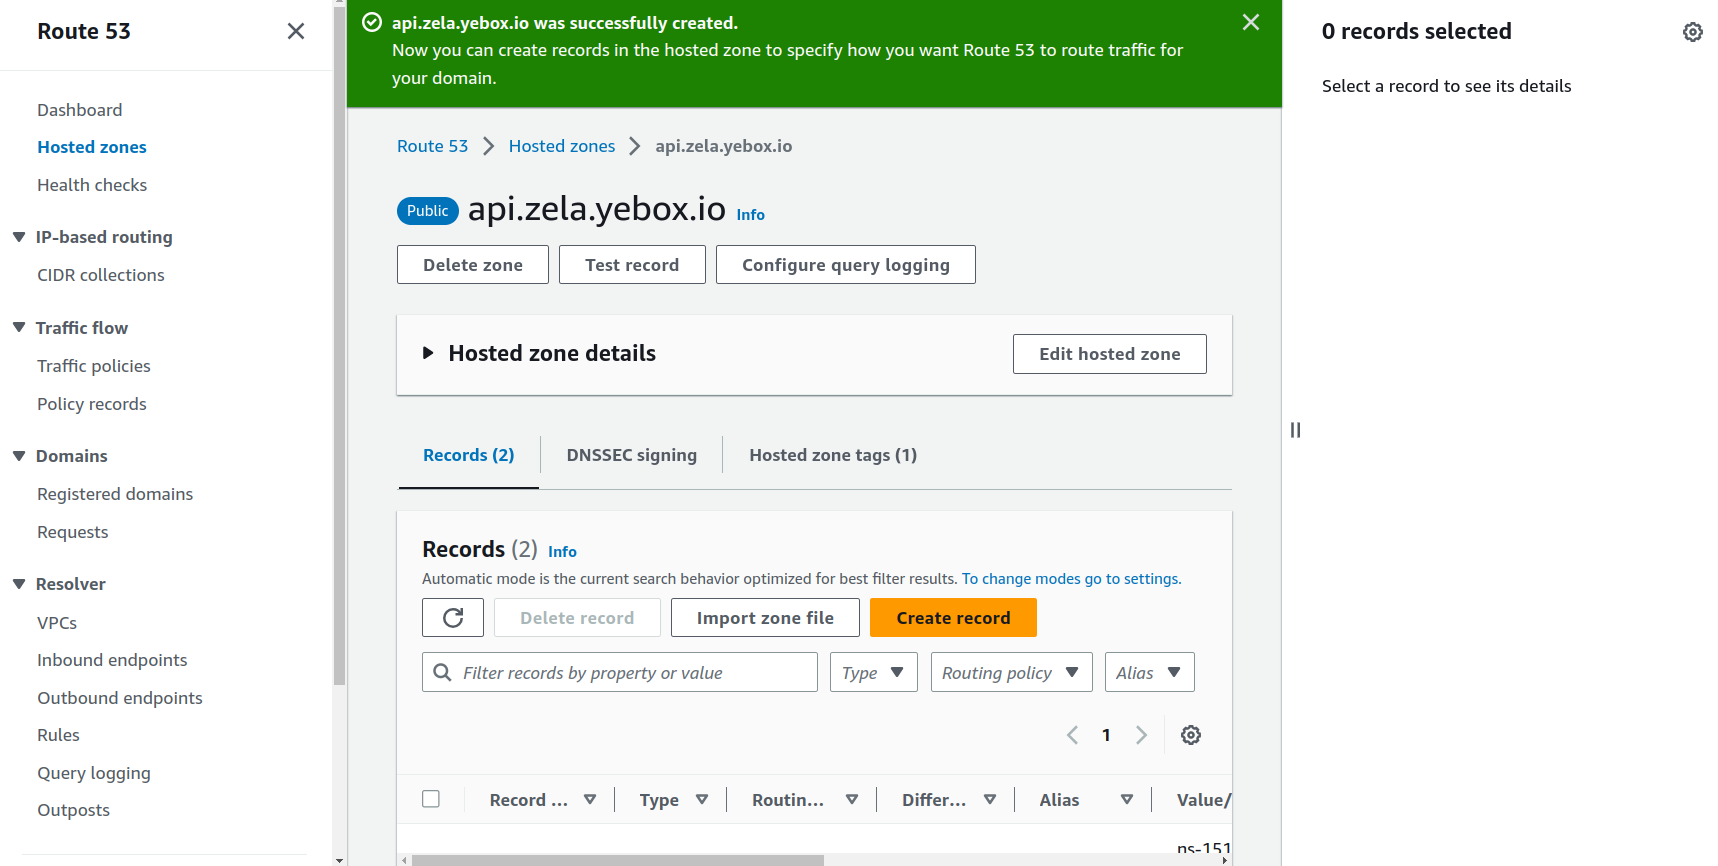
- On
Should see a page like this if successful
Step Two: Add subdomain NS Values as record on Primary Domain
-
Scroll down a bit on your newly created subdomain and copy the
NSvalues, all four of them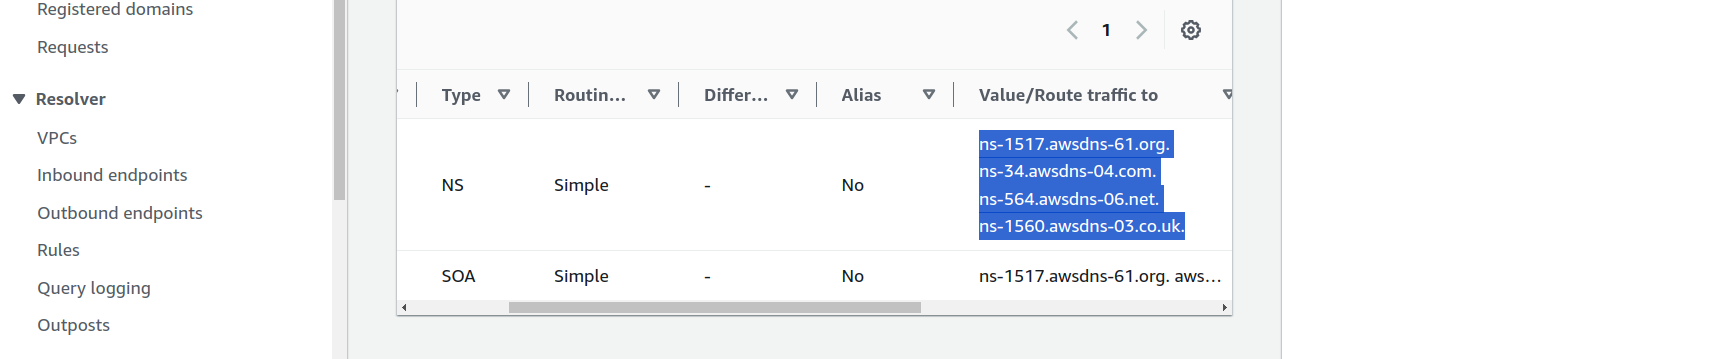
- Click on
Hosted zonefrom the left navigation pane - Look for your primary domain(If you have many domains on the list) and click on it
-
In the primary domain page click on
Create record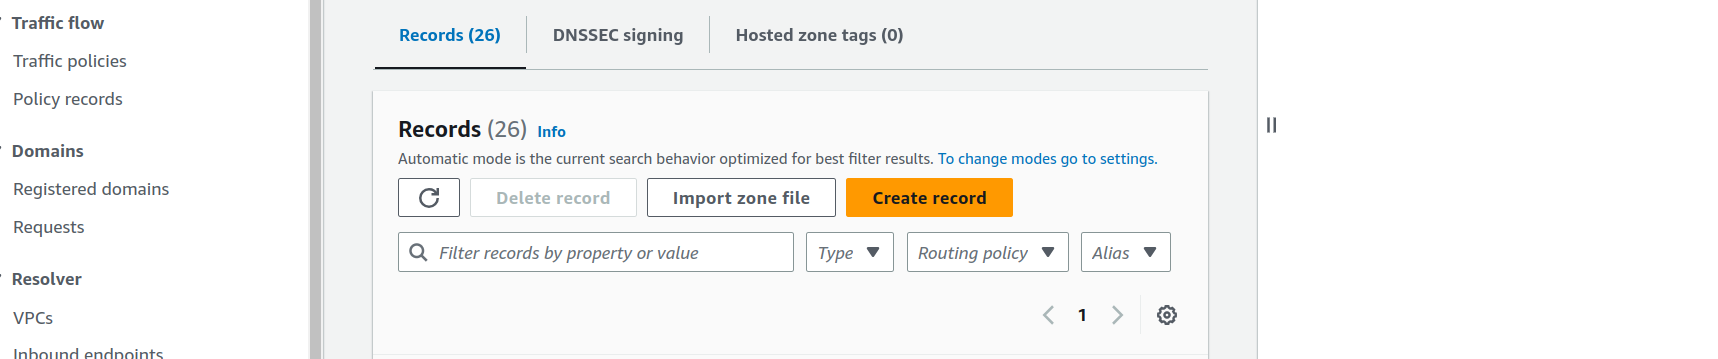
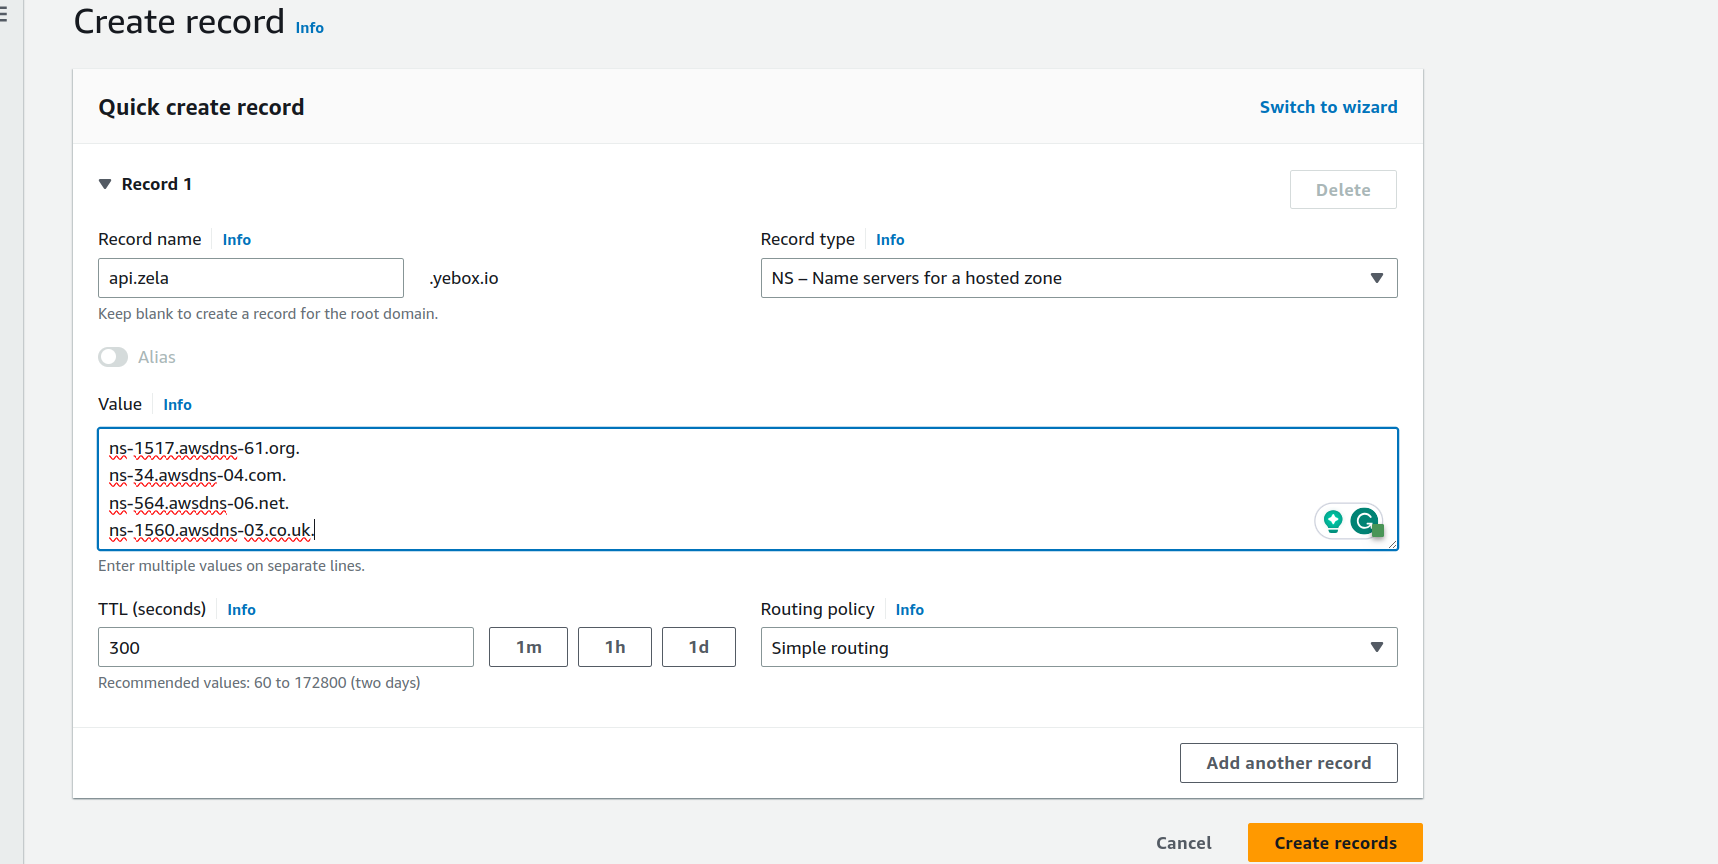
- Fill the form
- On
Record nametype your subdomain name Don’t include the primary domain name, it will be added by default - On
Record typeSelectNSfrom the list - On
ValuePaste the NS Values you copied from the subdomain - On
Routing policySelect Simple routing - Leave TTL as
Default
- On
Then Click on Create records button
Successful message should appear if it went well
Step Three: Create Certificate
-
Type
Certificate manageron the search box and click on the search result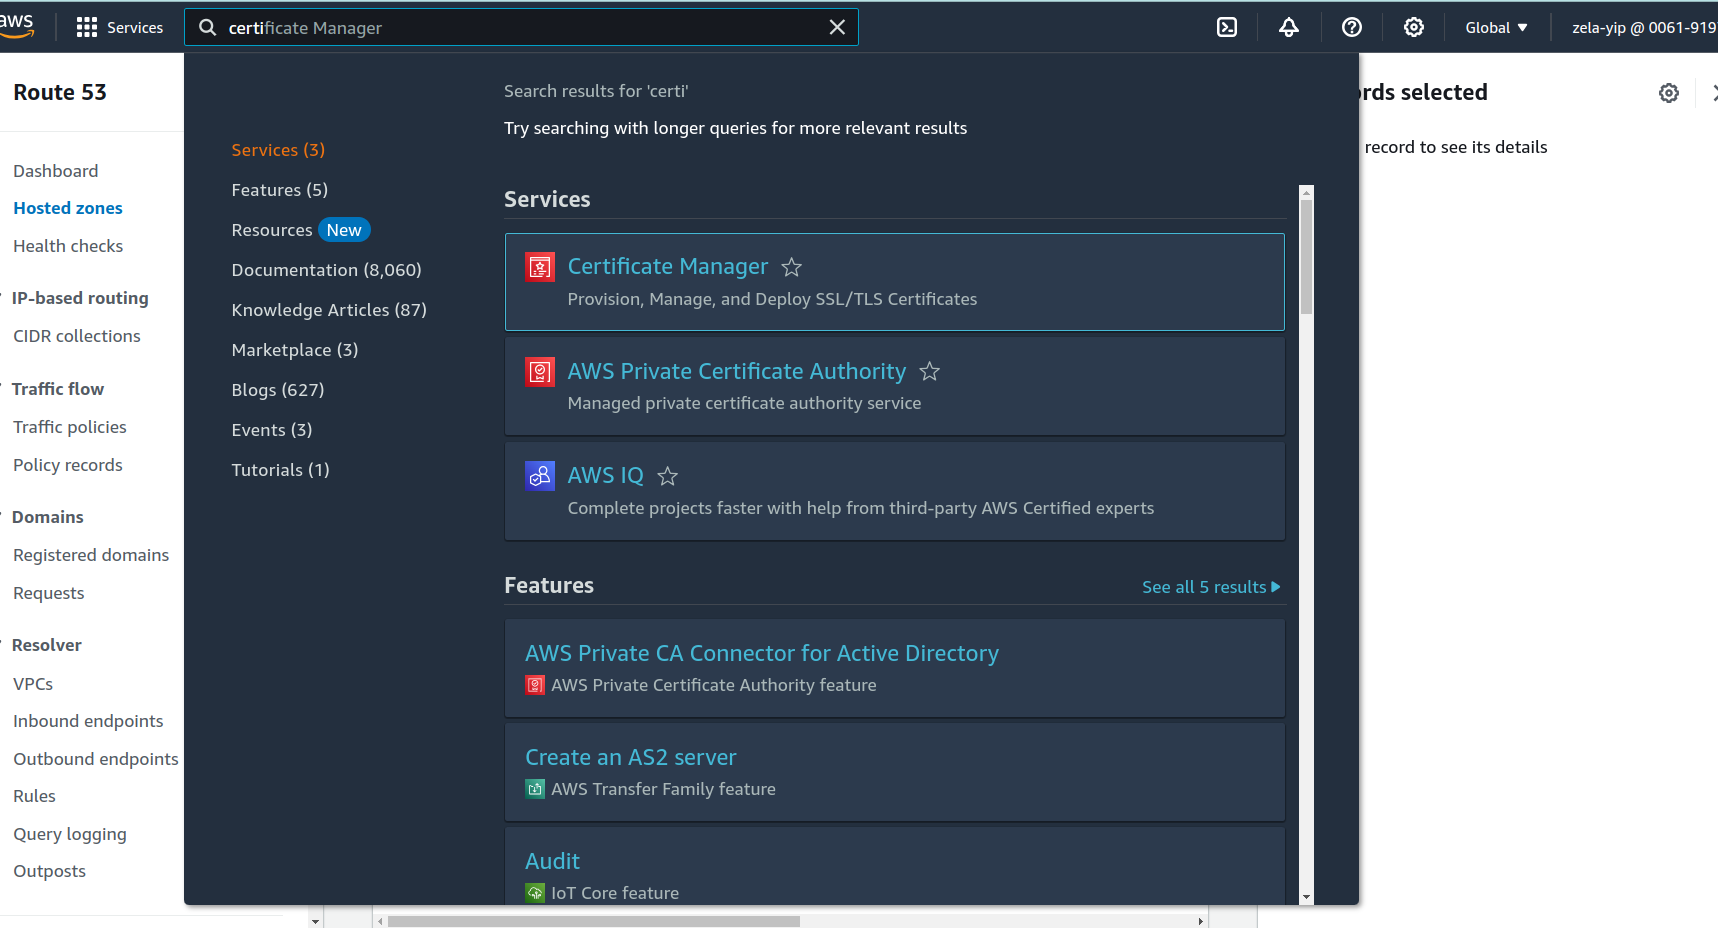
-
Click on the orange color
Request a certificatebutton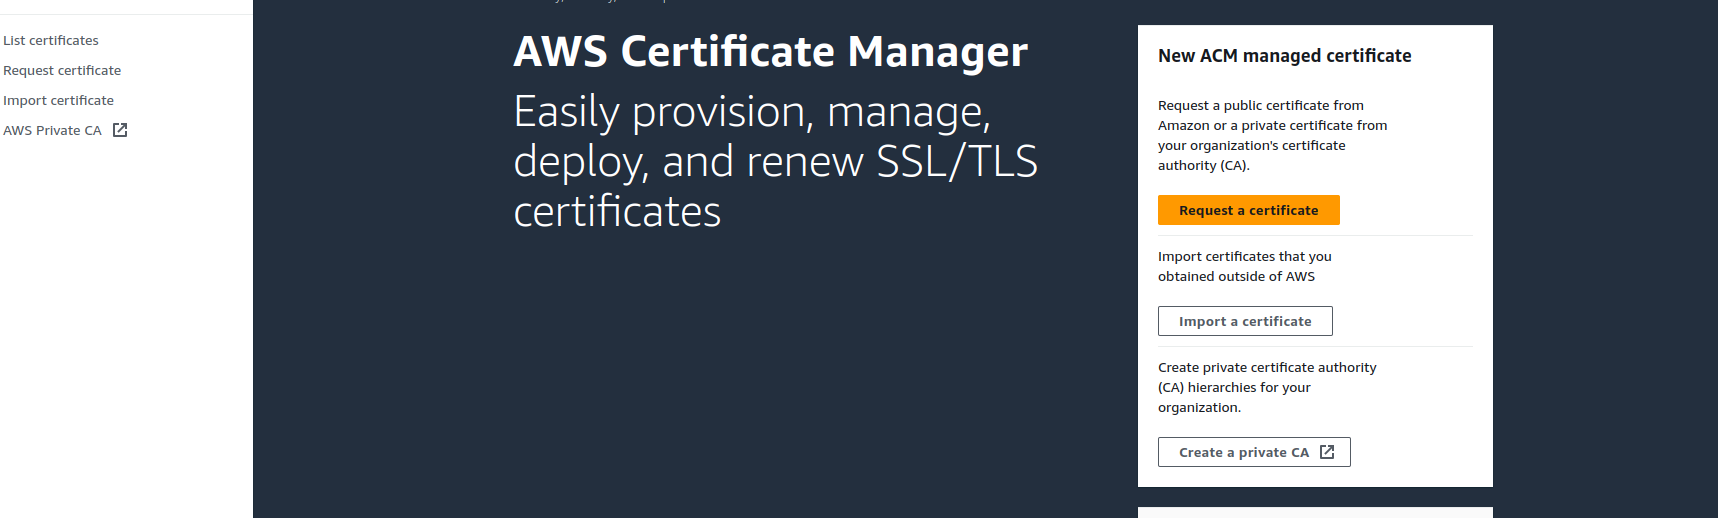
-
Select
Request a public certificateThen click Next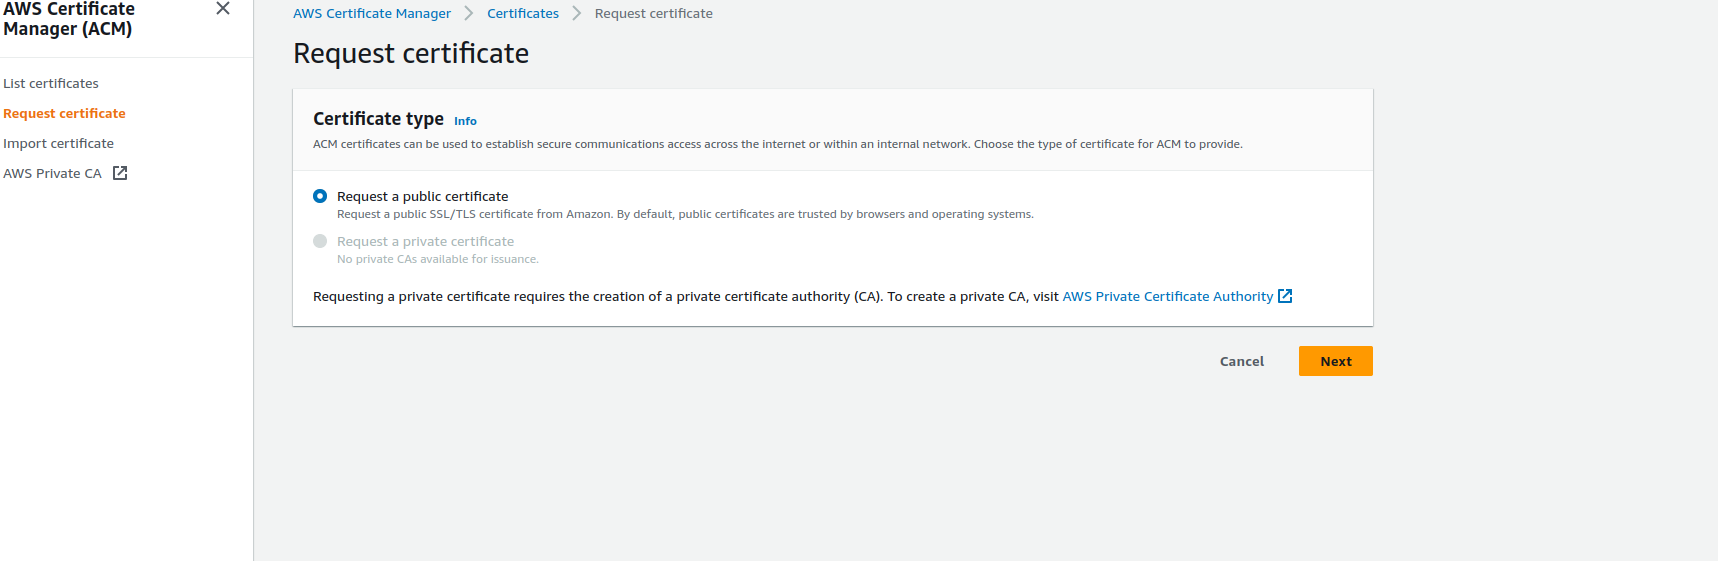
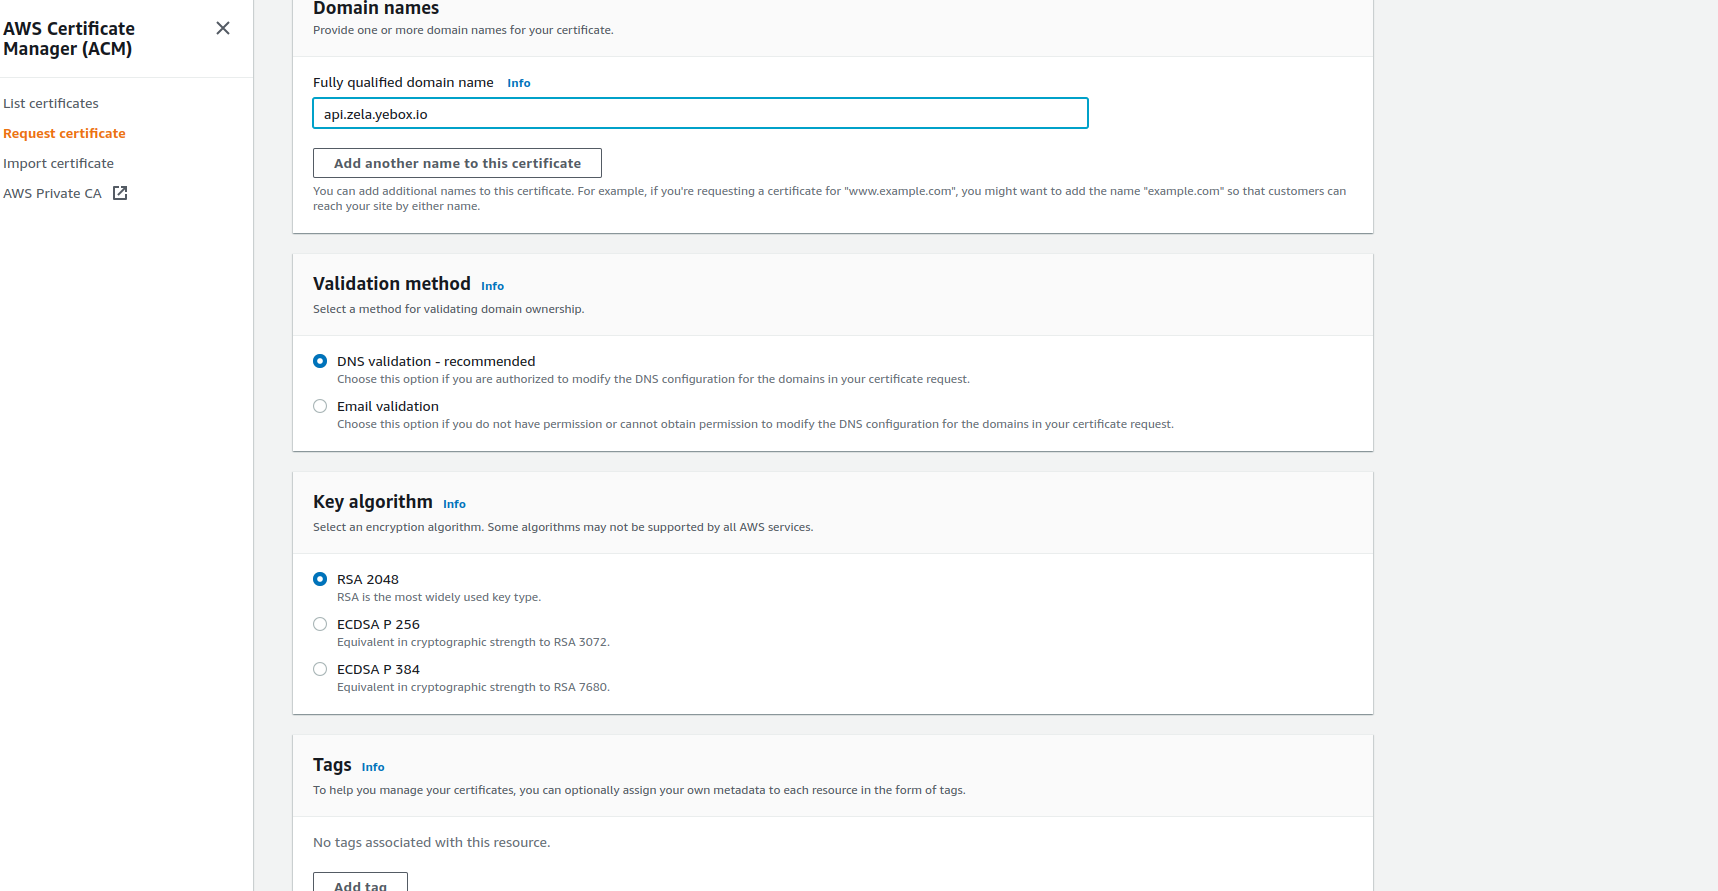
- Fill the form
- On
Fully qualified domain nameEnter your subdomain name including the primary domain name - On
Validation methodSelect DNS validation - recommended - On
Key algorithmSelect RSA 2048 - You can add tag if you want.
- Then scroll down and Click on the Request button
- On
-
If successful,
Statusshould display Pending validation Click on theCertificate ID or Name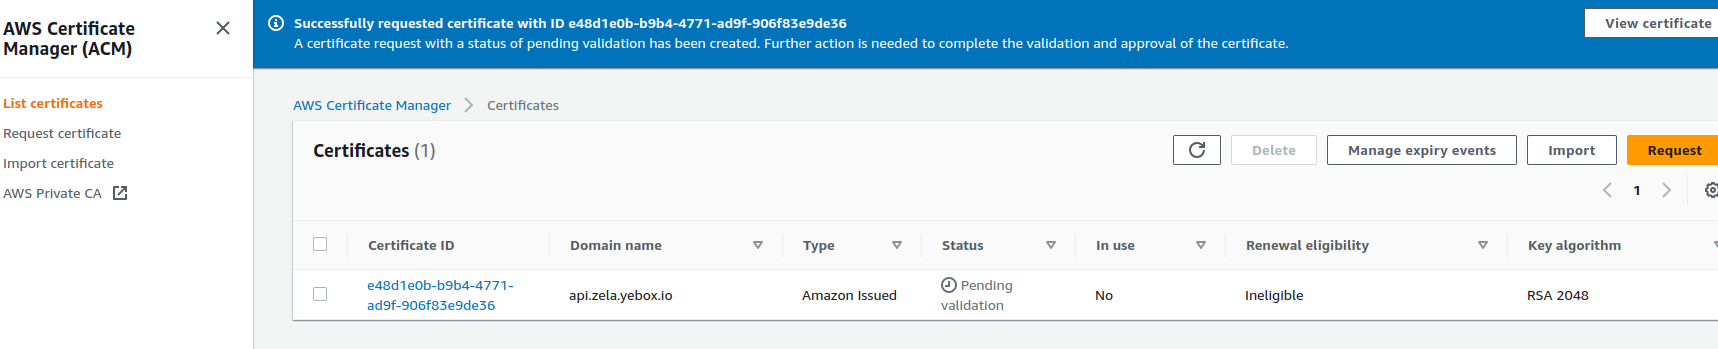
-
Click on
Create records in Route 53button
-
Click on the
Create recordsbutton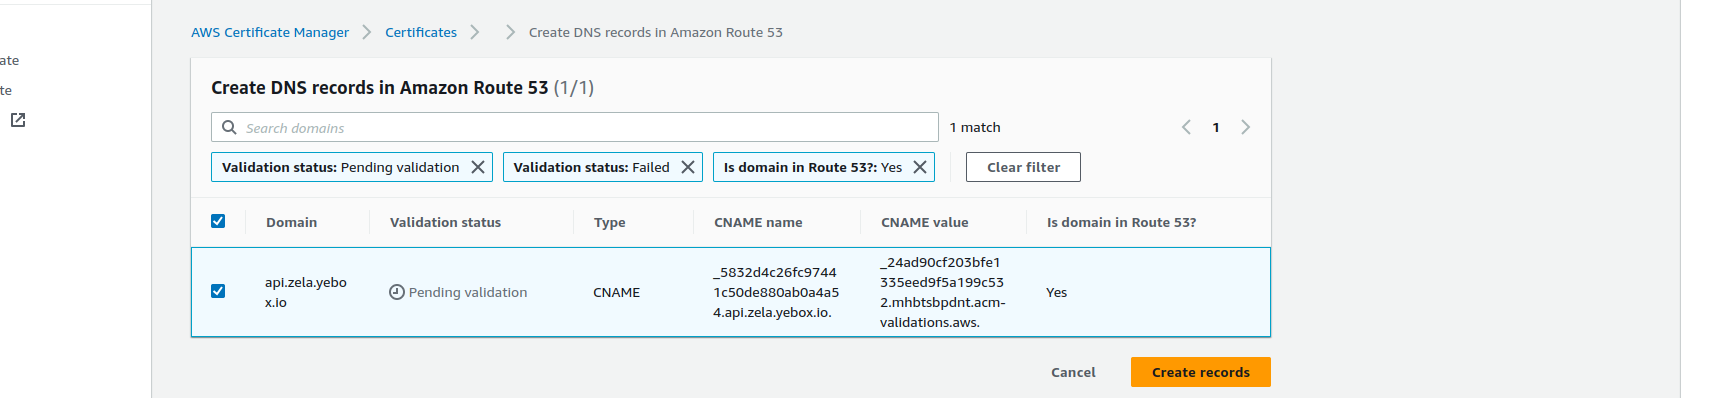
-
If DNS record creation successful
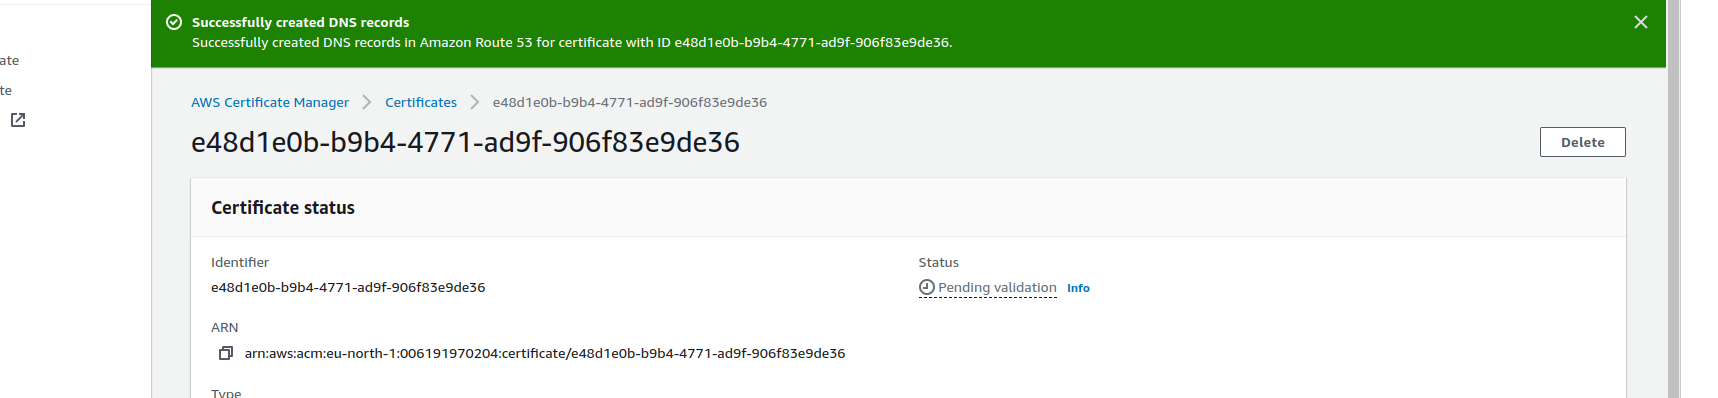
- Wait for one to five minutes and refresh your page, the validation status should change from
Pending validationtoIssued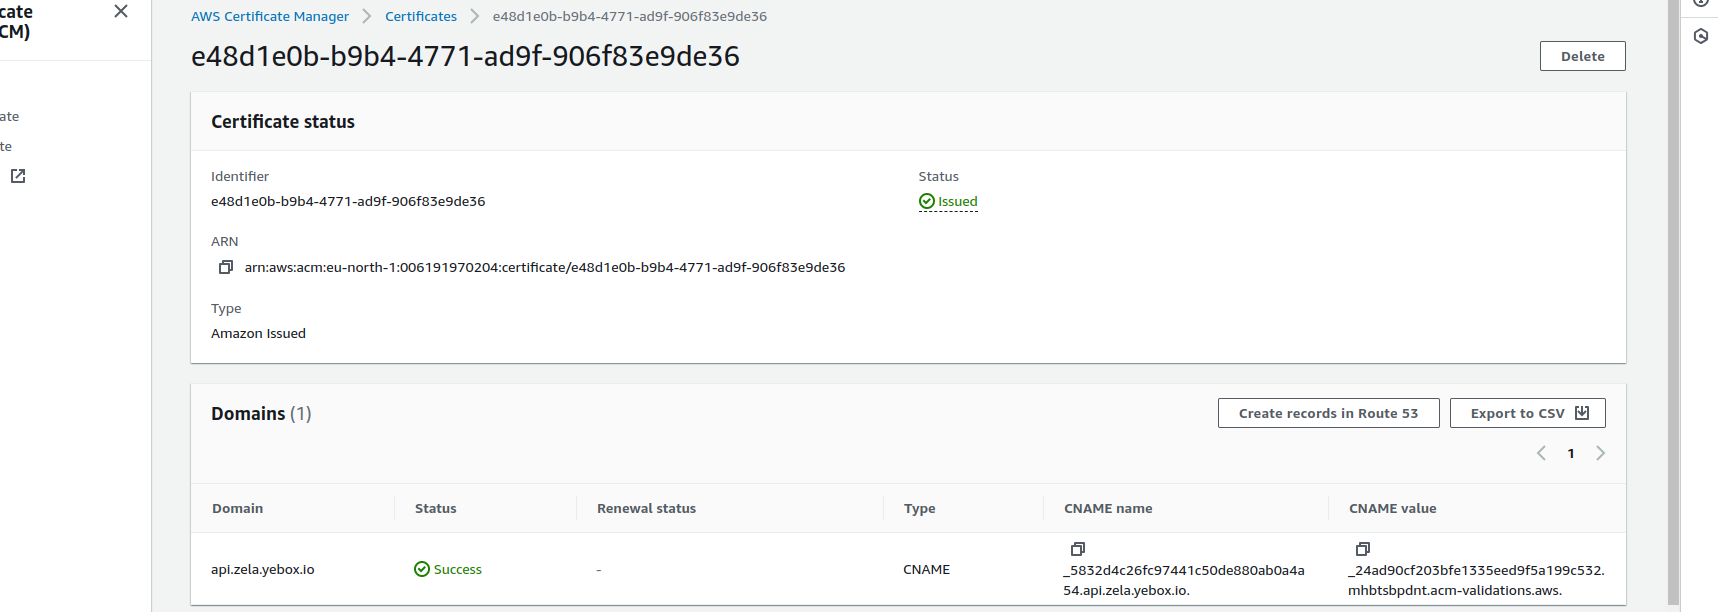
Step Four: Add Listener on Elastic Beanstalk
-
Search for
elastic beanstalkand click on it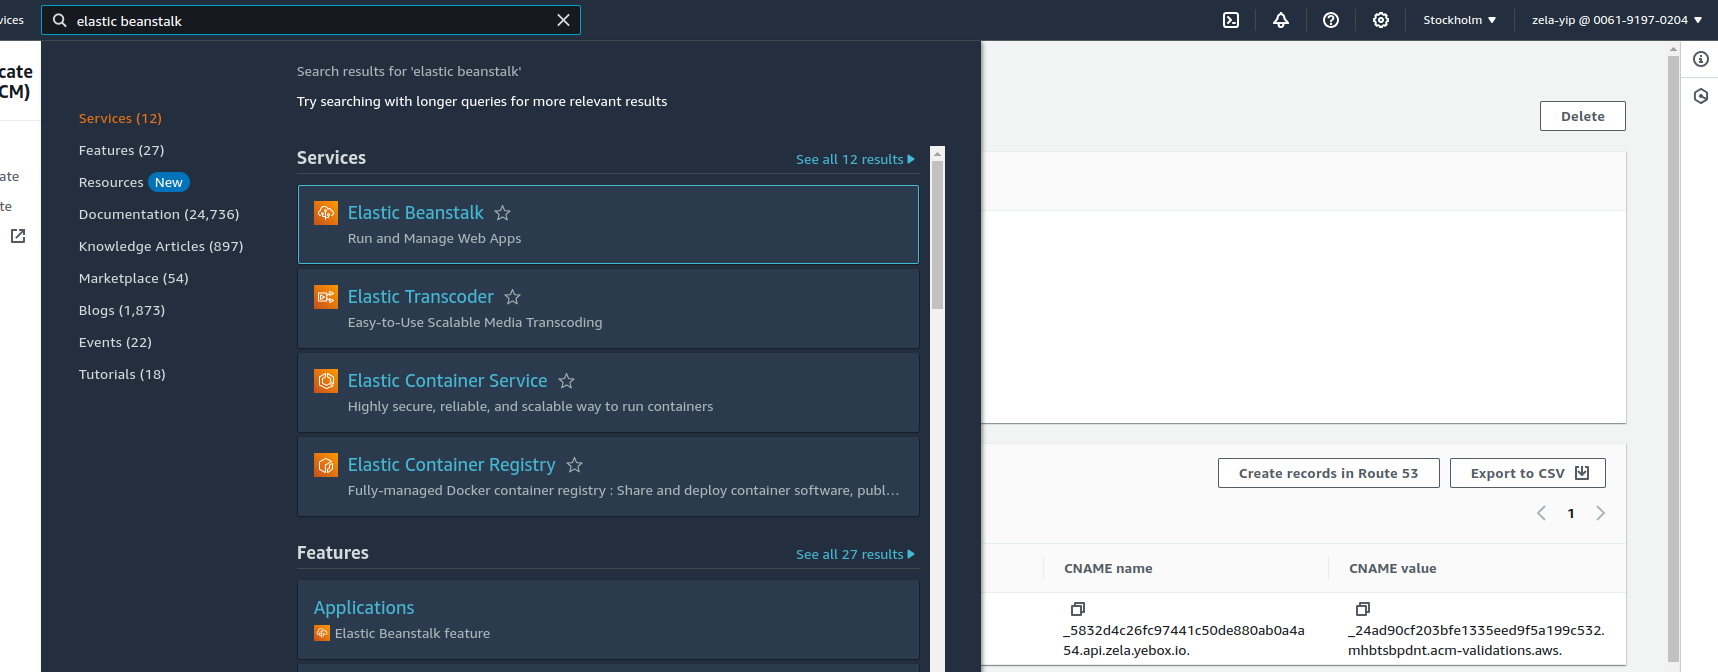
-
Click on the name of your elastic beanstalk
Environment name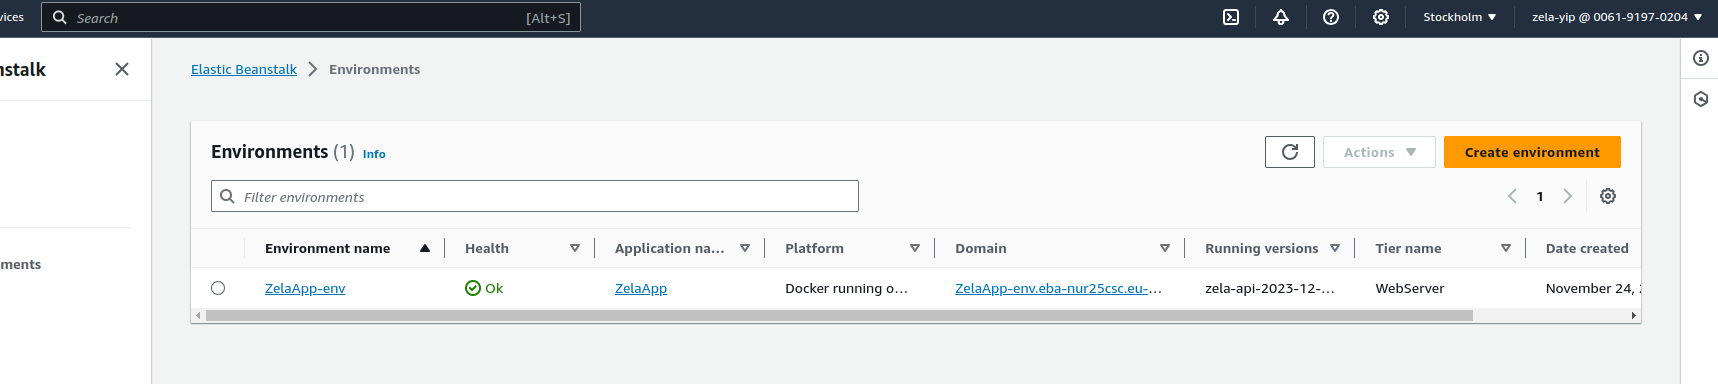
-
Click on
Configurationfrom the left pane and scroll down
-
If your
Load balancerunder Instance traffic and scaling category, underCapacityis not editable. Clickediton the Instance traffic and scaling category.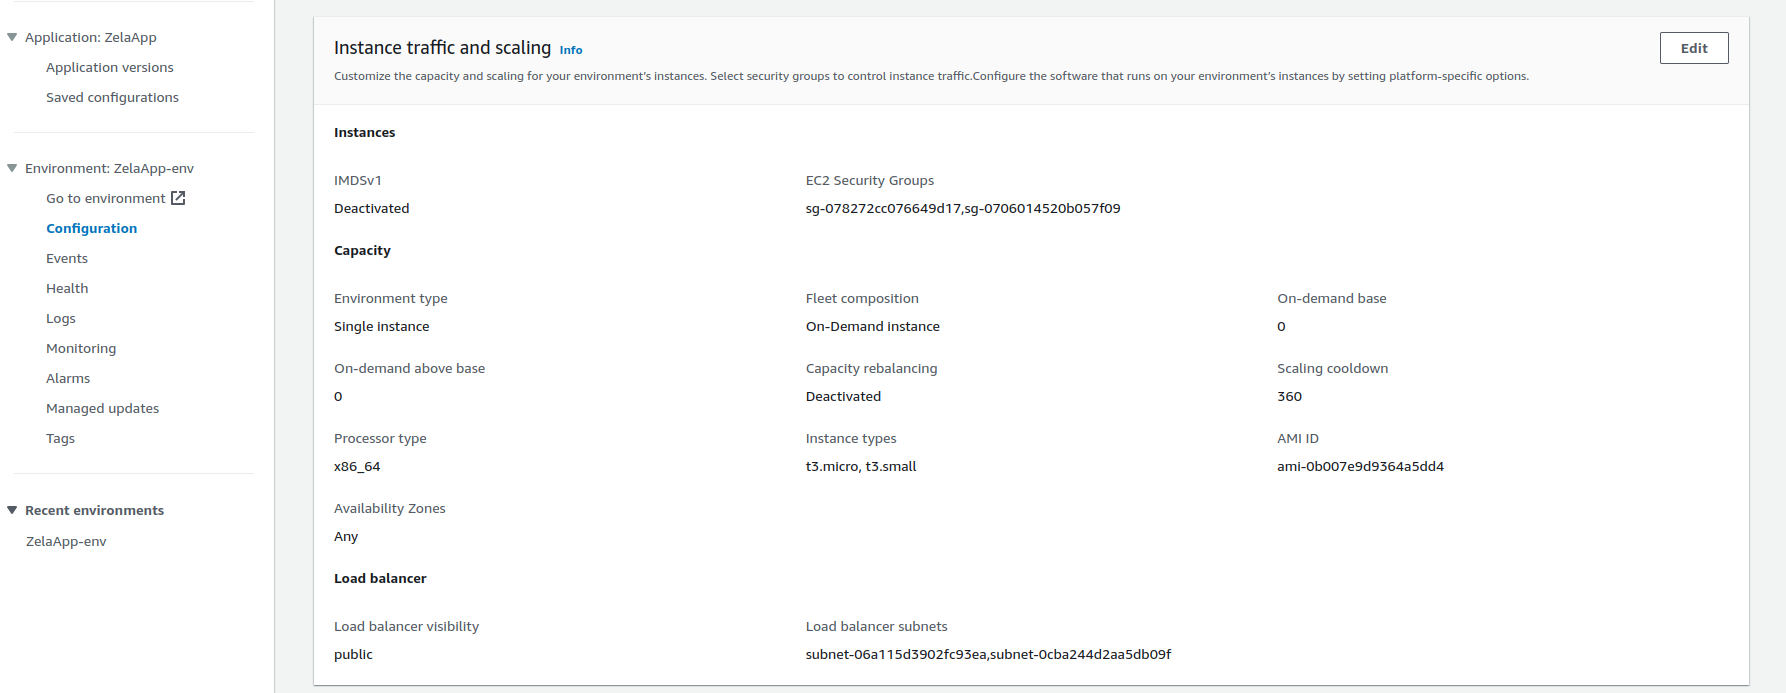
Note: You selected Single instance rather than Load balanced when creating your elastic beanstalk, which is why your load balancer details are not displayed.
-
Still under Instance traffic and scaling under
CapacitythenAuto scaling groupthen Environment type Select Load balanced then scroll down
-
On
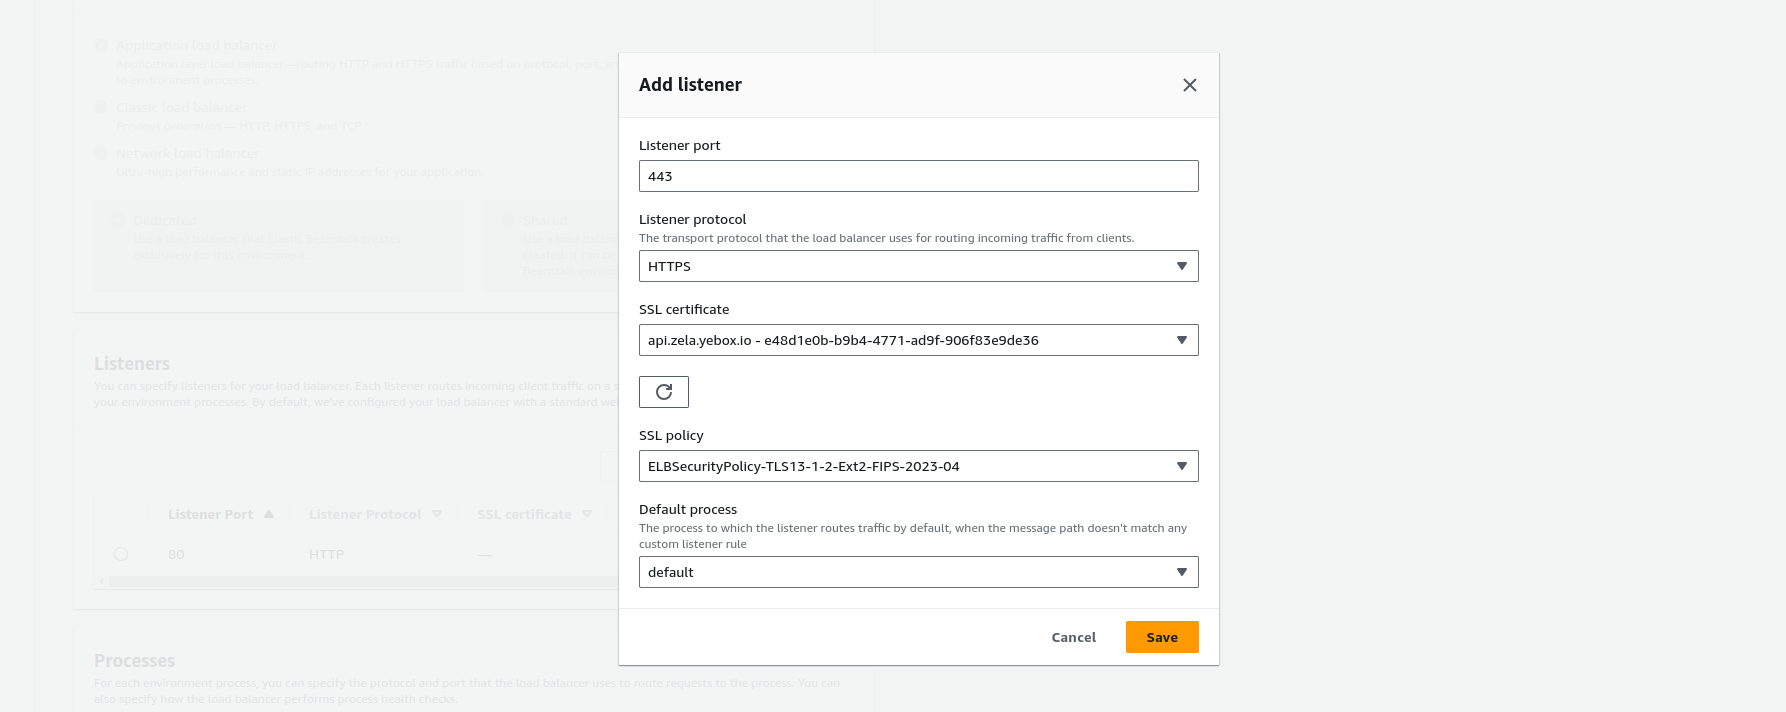
ListenersClick Add listener button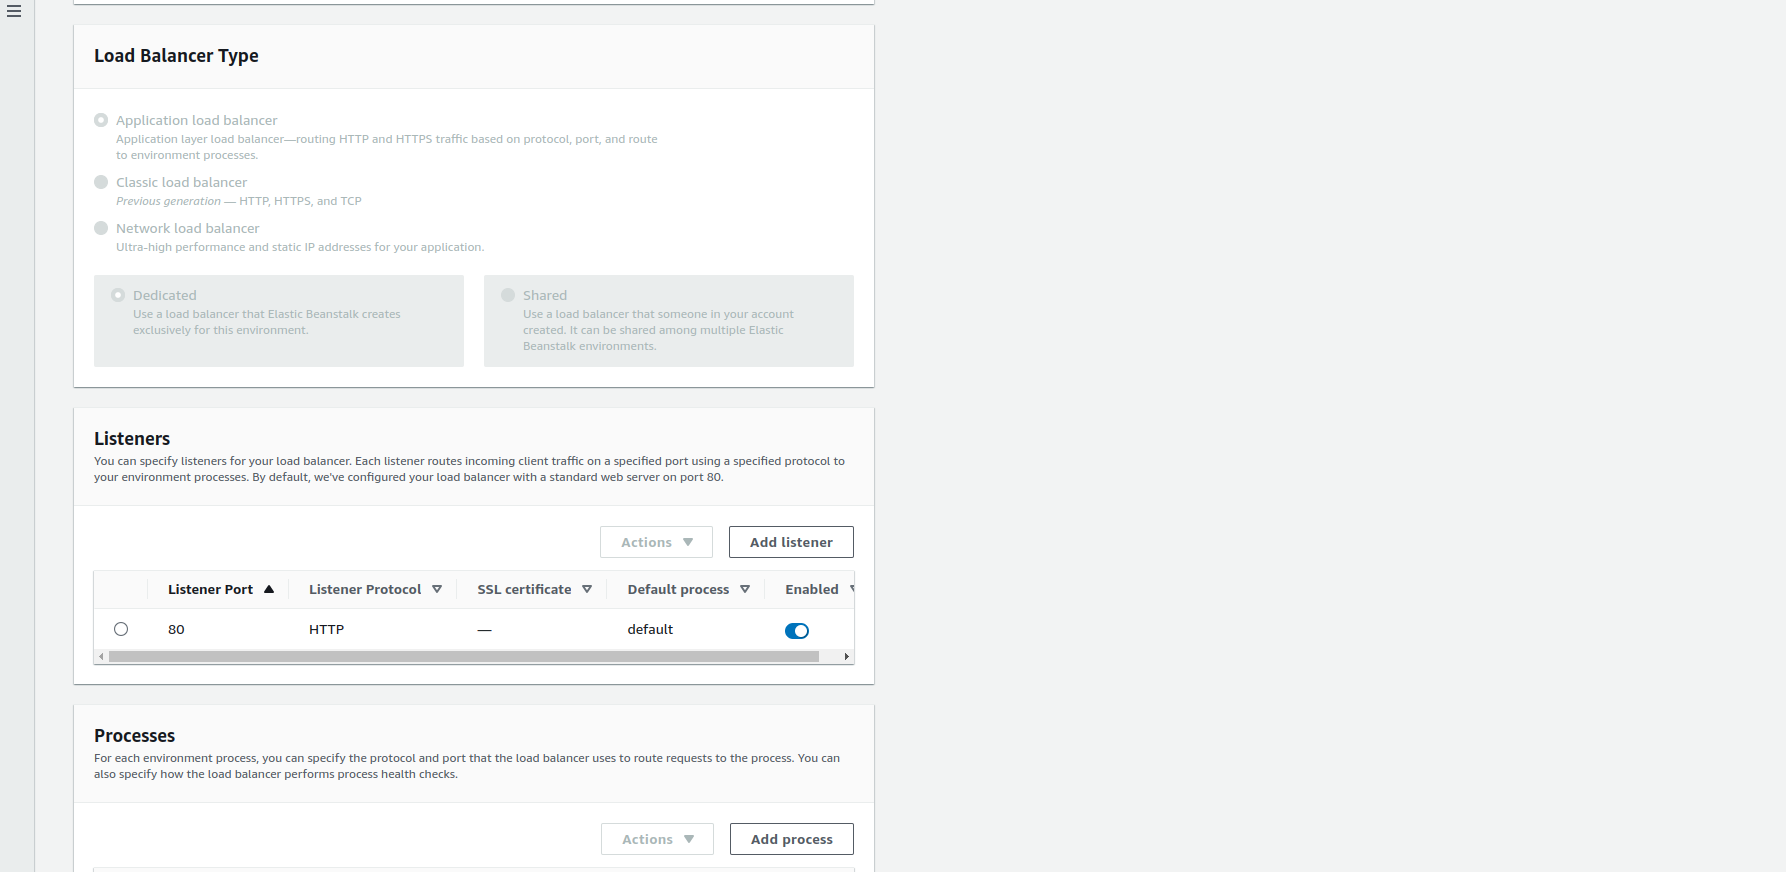
- Fill the
Add listenerform- On
Listener portselect 443 - On
Listener protocolselect HTTPS - On
SSL certificatechoose the certificate you created - On
SSL policyChoose any on 2023 - On
Default processleave it on default - Then click save
- On
- Scroll down to the bottom and click the Apply button
Step Five: Create Alias for subdomain to use Elastic beanstalk
- Search for Route53 on AWS Services
- Click on
Hosted zoneson the route53 dashboard -
Click on your subdomain name, then click on the
Create recordbutton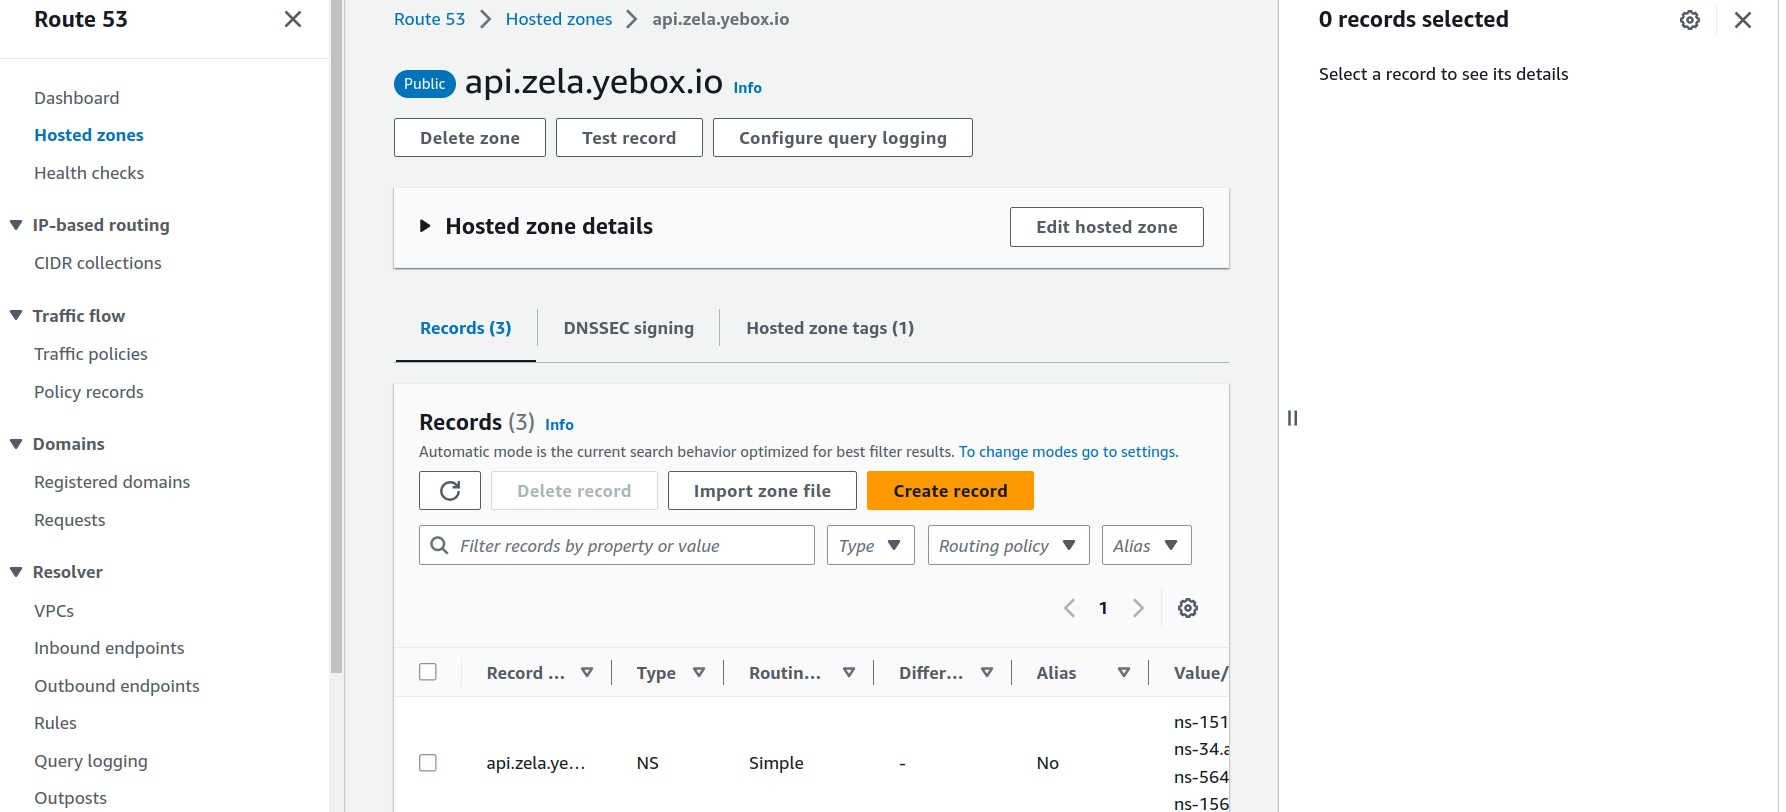
-
The initial create record should look like this
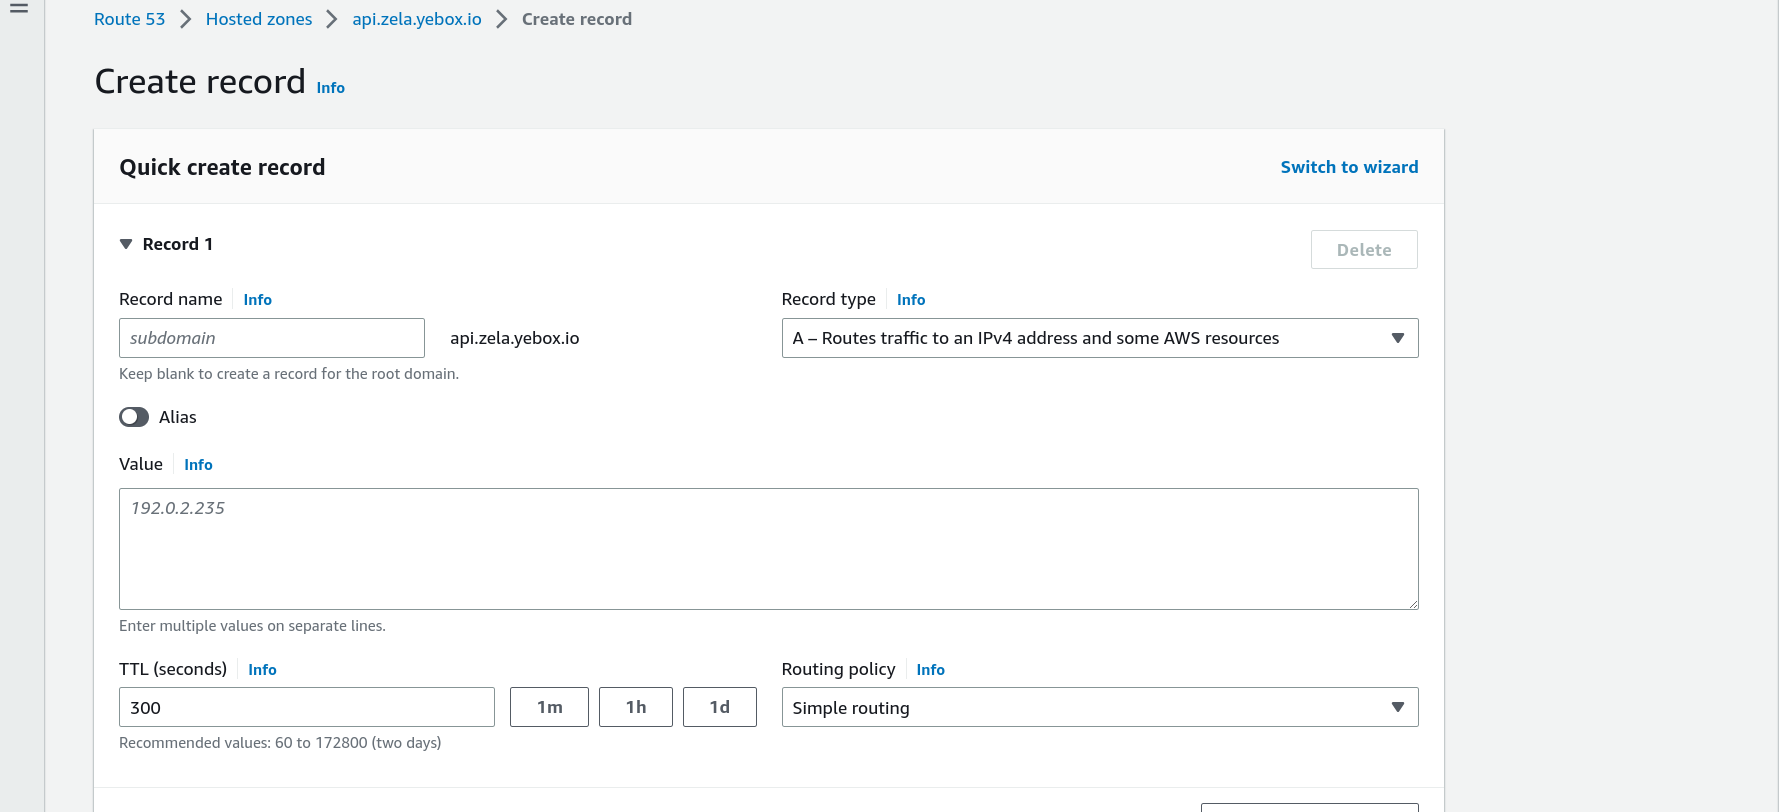
- Fill the form
- On
Record nameLeave it as is - On
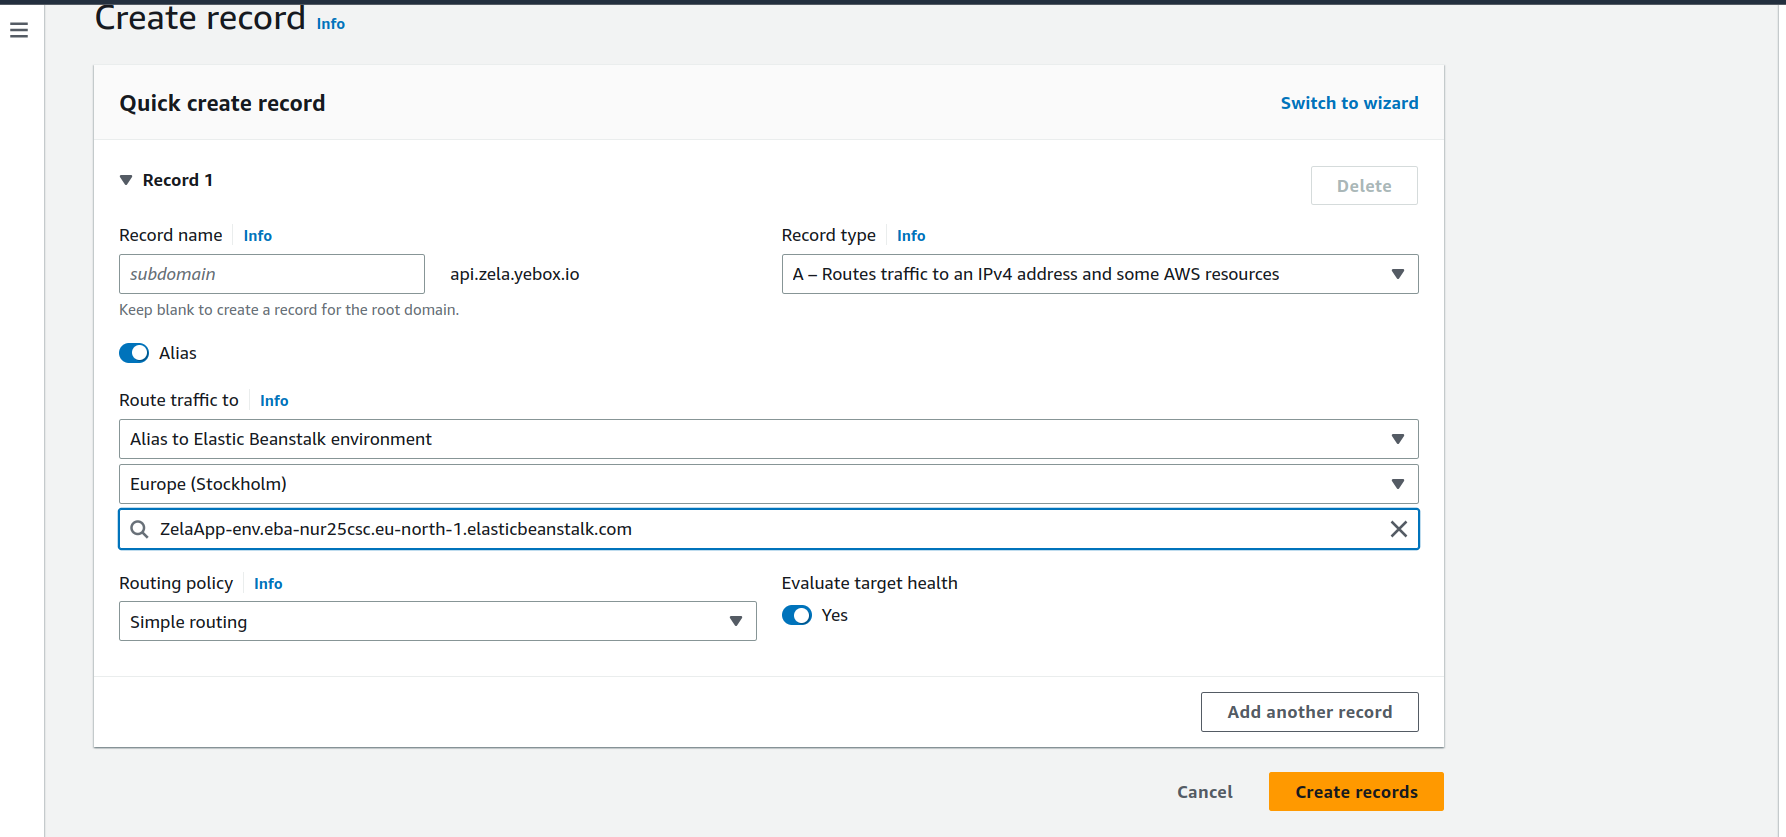
Record typeselect A - Routes traffic to an IPv4 address and some AWS resources - Check or Click on the
Aliasbutton - On the
Route traffic tofields- On
Choose endpointselect Alias to Elastic Beanstalk environment - On
Choose regionselect your region - On
Choose environmentselect your elastic beanstalk environment
- On
- On
Routing policyselect Simple routing Evaluate target healthcan be Yes- Then click on Create records button
- On
- If everything was done correctly, a success message will appear.
Step Six: Redirect HTTP to HTTPS
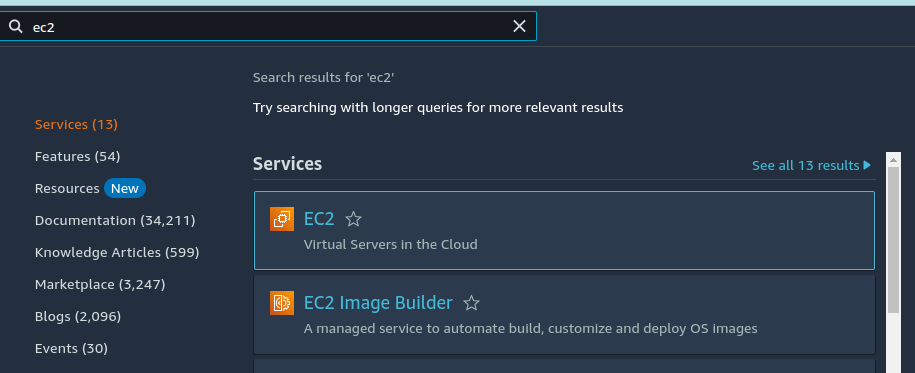
- Search for EC2 and click on the search result
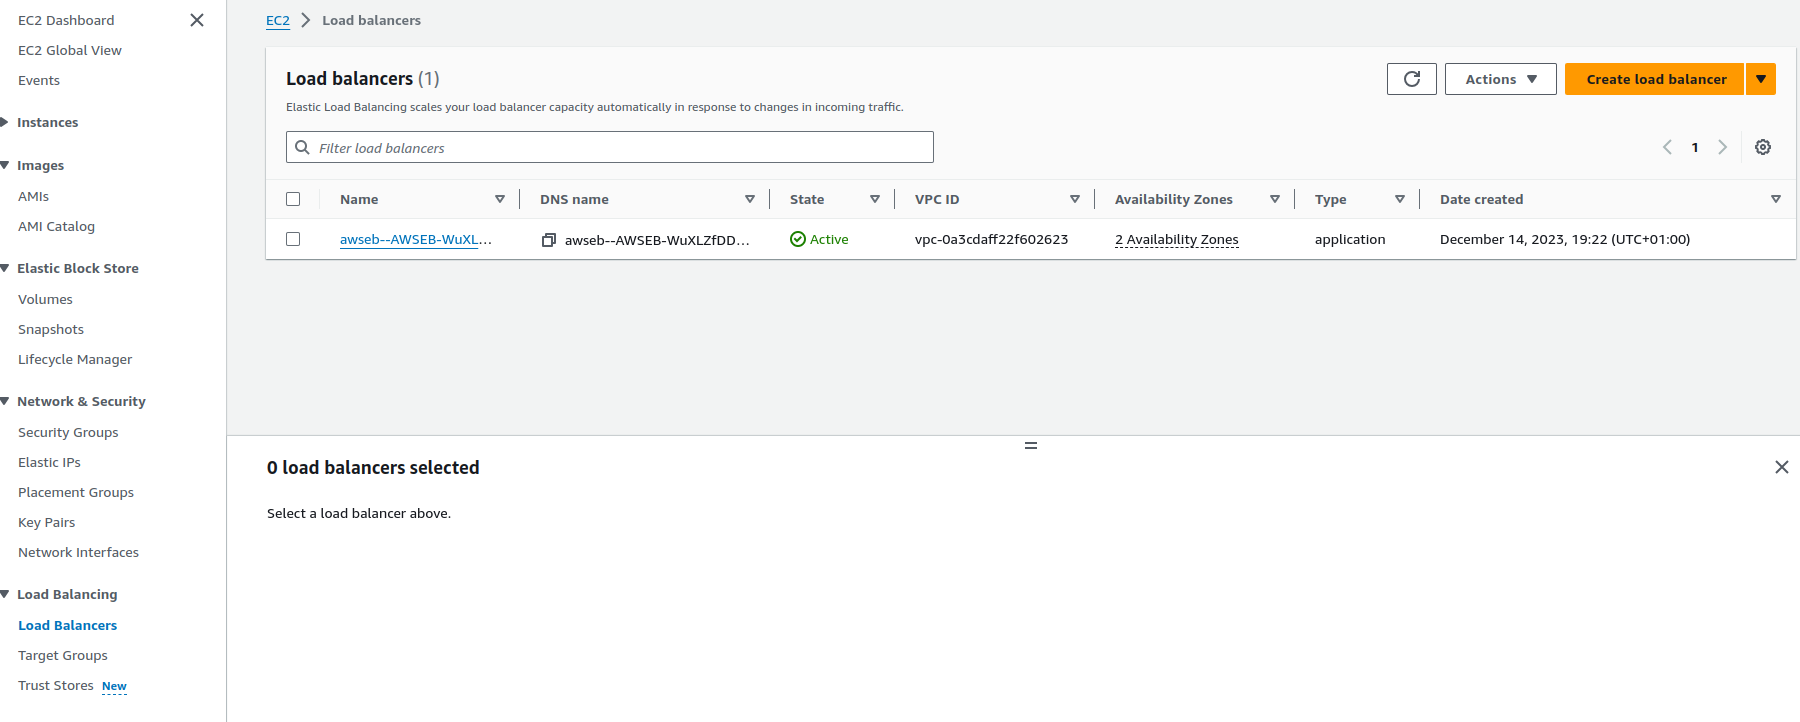
- Click on
Load Balancerson the side menu
- Click on the name of your load balancer
- Then click on
HTTP:80at the bottom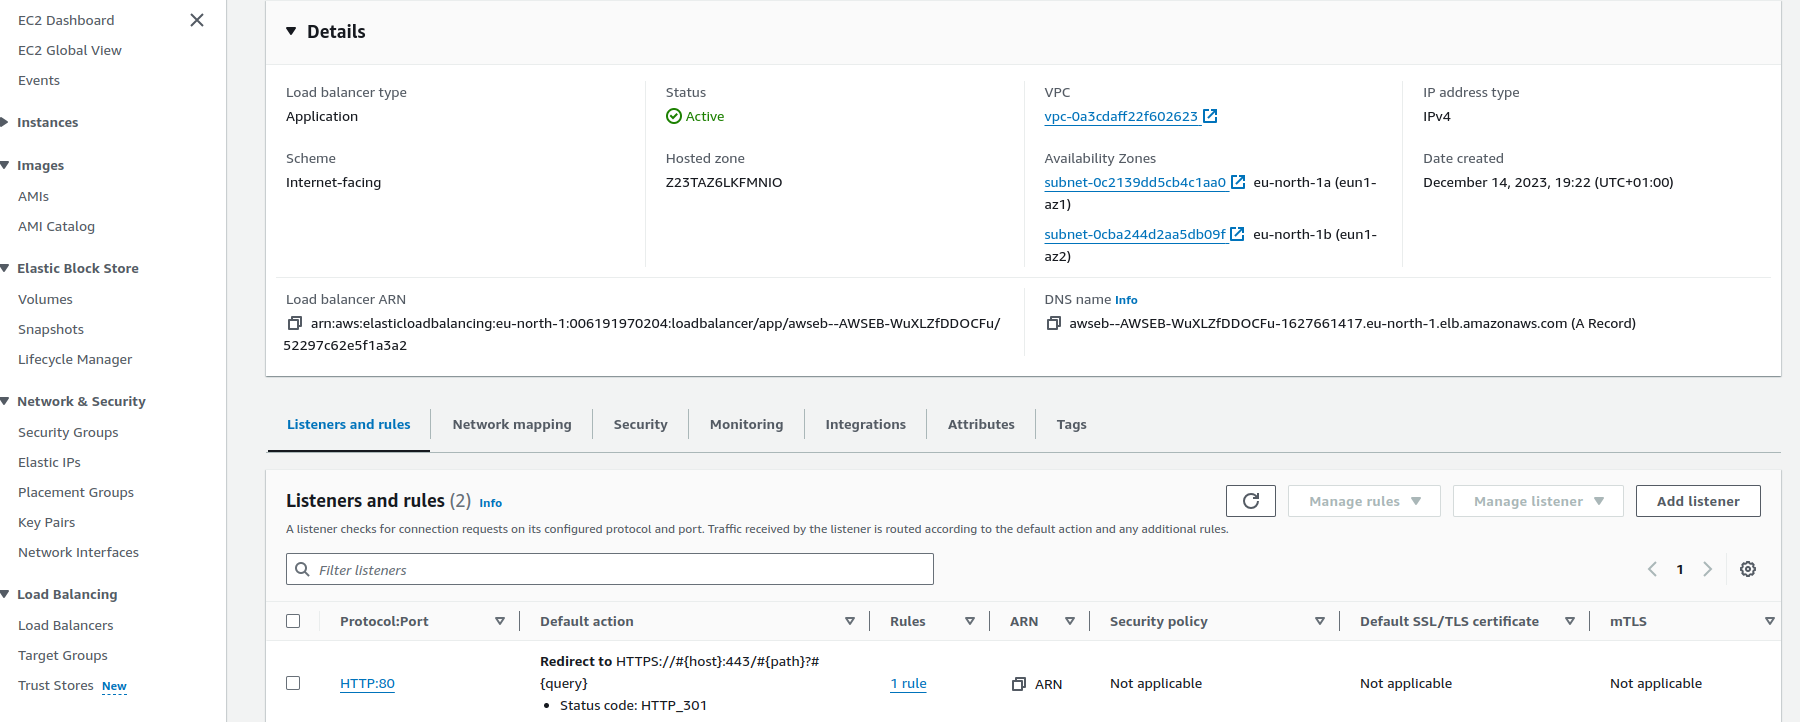
- Click on
default
- Click on
Actionsthen click onEdit rule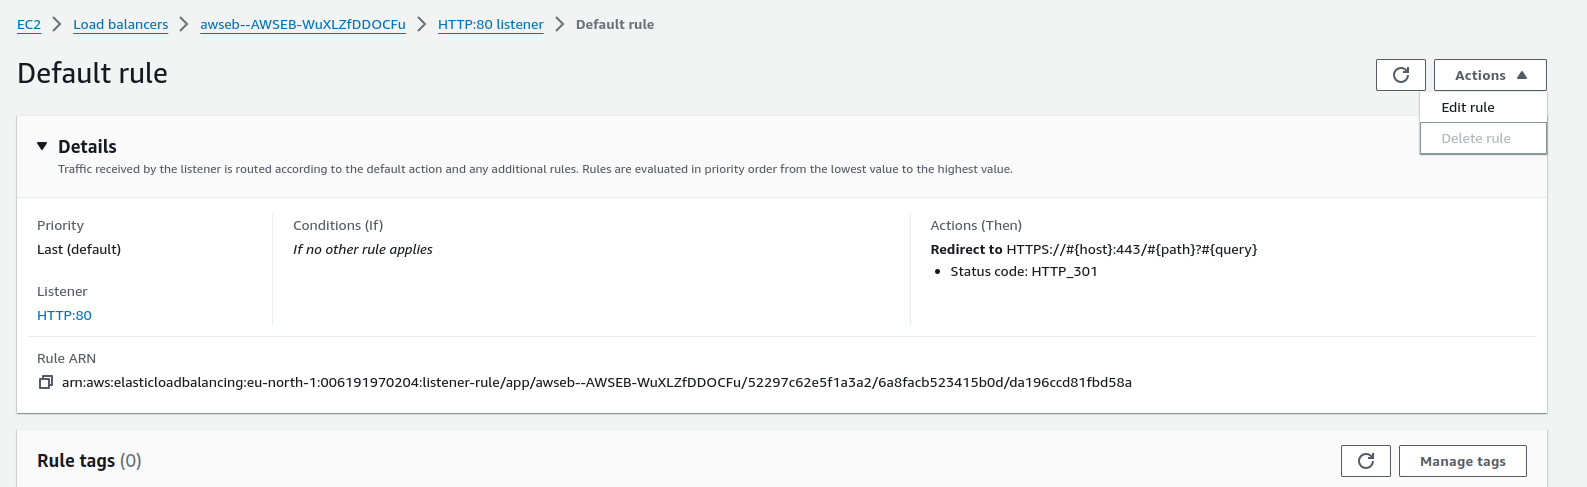
- Leave
Listener detailsandListener configurationas it is. Then fill out theDefault actionscategory- On
Routing actionstick Redirect to URL - On
Redirect to URLselect URI parts - On
Protocolselect HTTPS - On
Porttype 443 - On
Status codeselect 301 - Permanently moved
- On
- Click save changes
Successfully modified listener message should display if successful
Enter your newly created subdomain in a browser, it should have https.k